


Craft n Cork
Read the Latest Issue
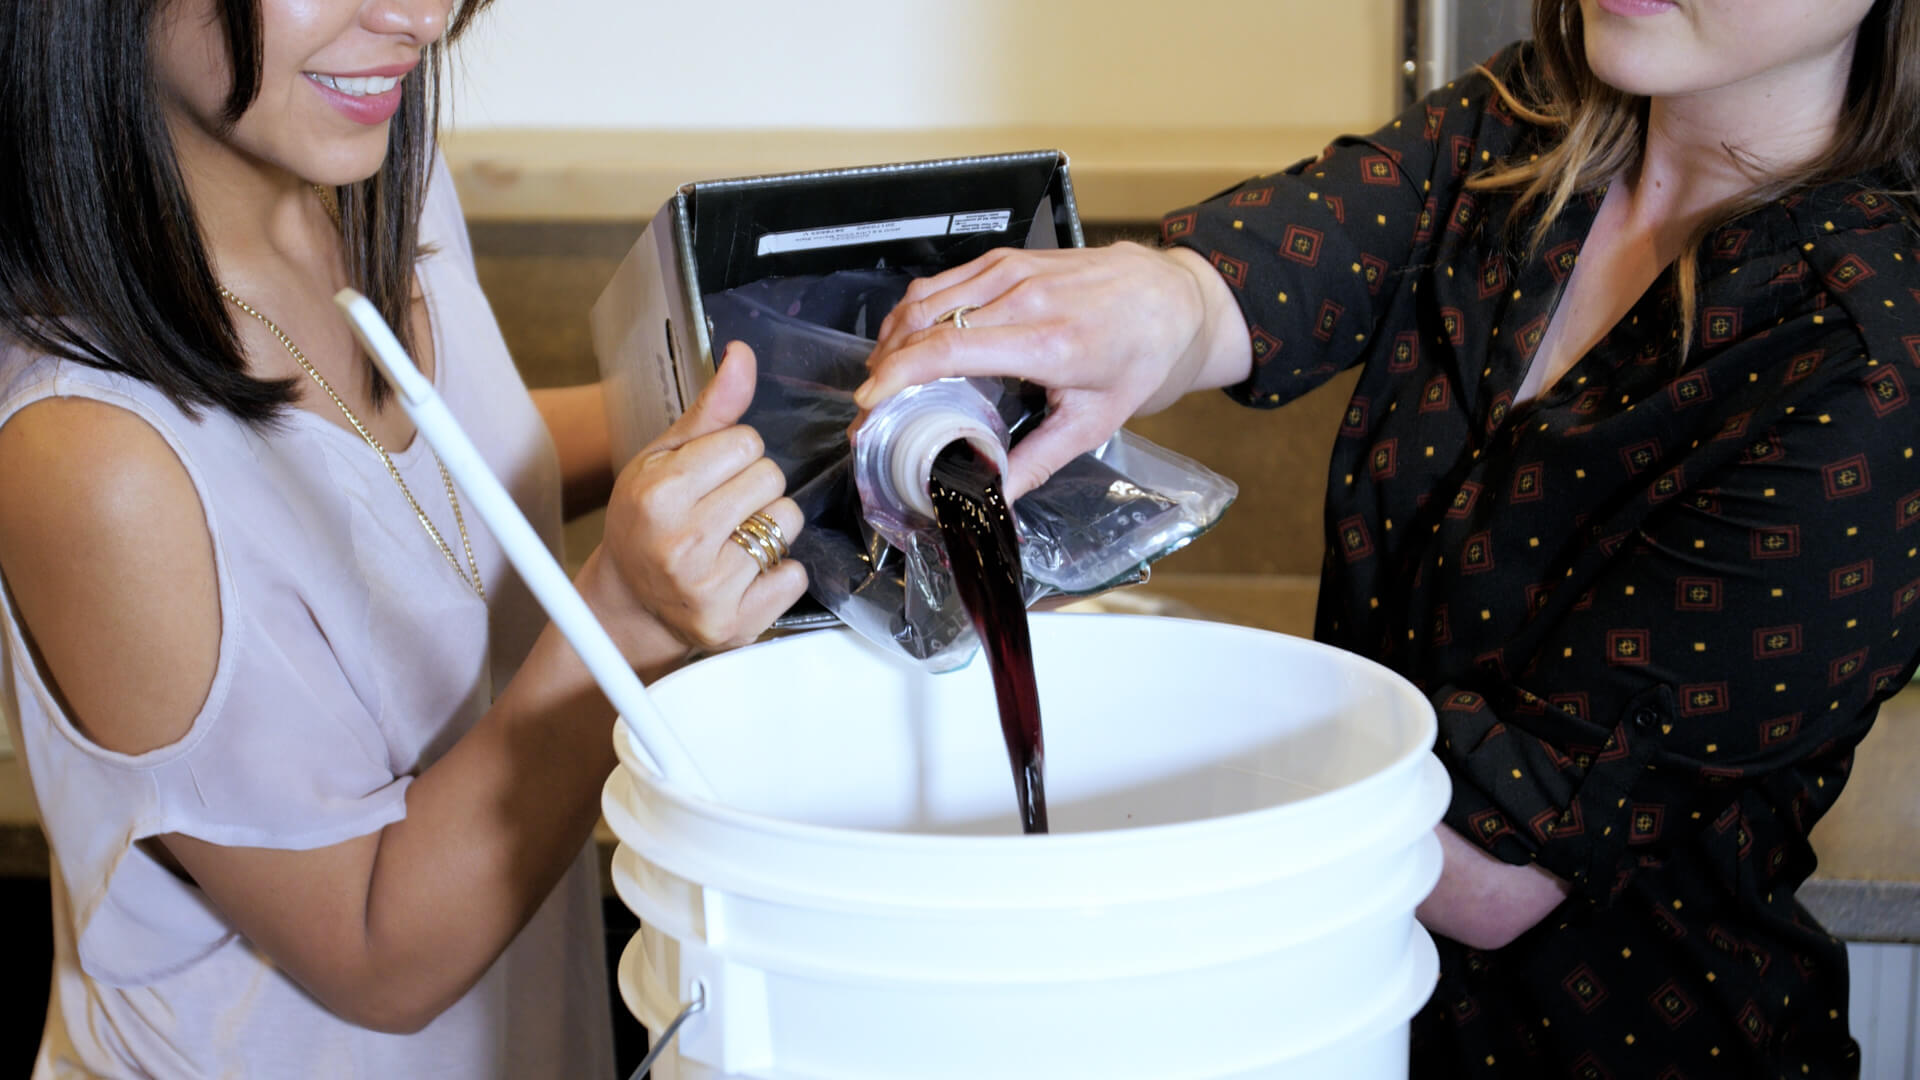
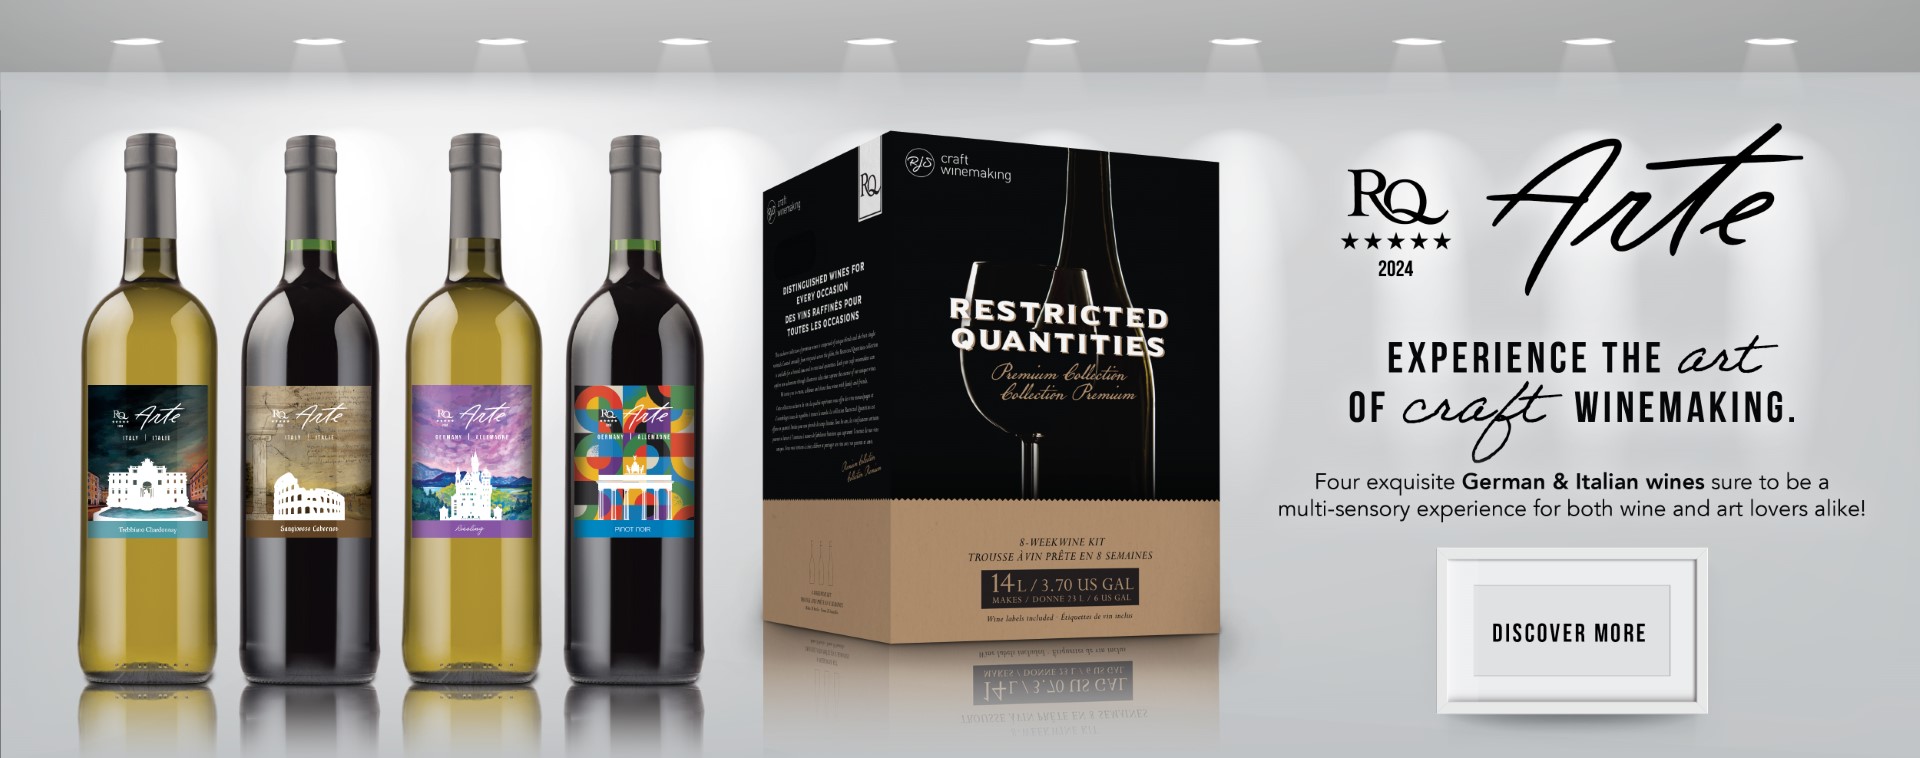
From RJS Craft Winemaking
The countdown to patio season is on; time to prep with these warm weather kits.
With cooler days in the rearview, it’s time to plan what you want to serve and sip in the coming summer months. Beautifully chilled whites and rosés are summer favourites for a good reason – they’re all versatile .. MORE
March 20, 2024